When it comes to relaying a message quickly and effectively to your audience, video is king.
This isn’t news to anyone, but what happens when you want to implement a video on your landing page and your users scroll away and miss all the best parts? Or perhaps you have an instructional video that your viewers need to follow as they scroll through your page.
Well, here’s an early holiday gift from Unbounce! 🎁 💝 🎅
Introducing the Sticky Video Widget ▶️ 🚀
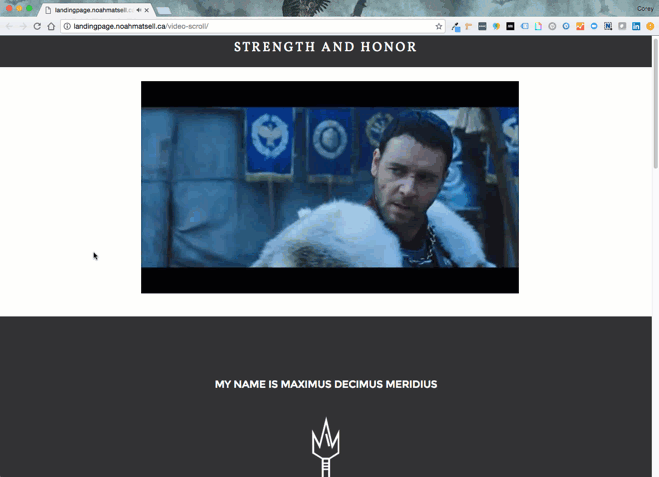
Now you can implement video on your landing page that will follow your user as they scroll through your content, Here’s Sticky Video Widget in action!
Want to add this to your campaign? Below are some simple step-by-step instructions to include this juicy widget in your Unbounce landing page.
How to Install in Unbounce
🚨This is not an official Unbounce feature. This functionality is based entirely on third party code, and has only been tested in limited applications. Since this isn’t a supported Unbounce feature, our support team will be unable to assist if things go awry. So if you are not comfortable with HTML, Javascript and CSS, please consider consulting an experienced developer.
First, go grab this script:Fixed Video On-Scroll
Instructions:
-
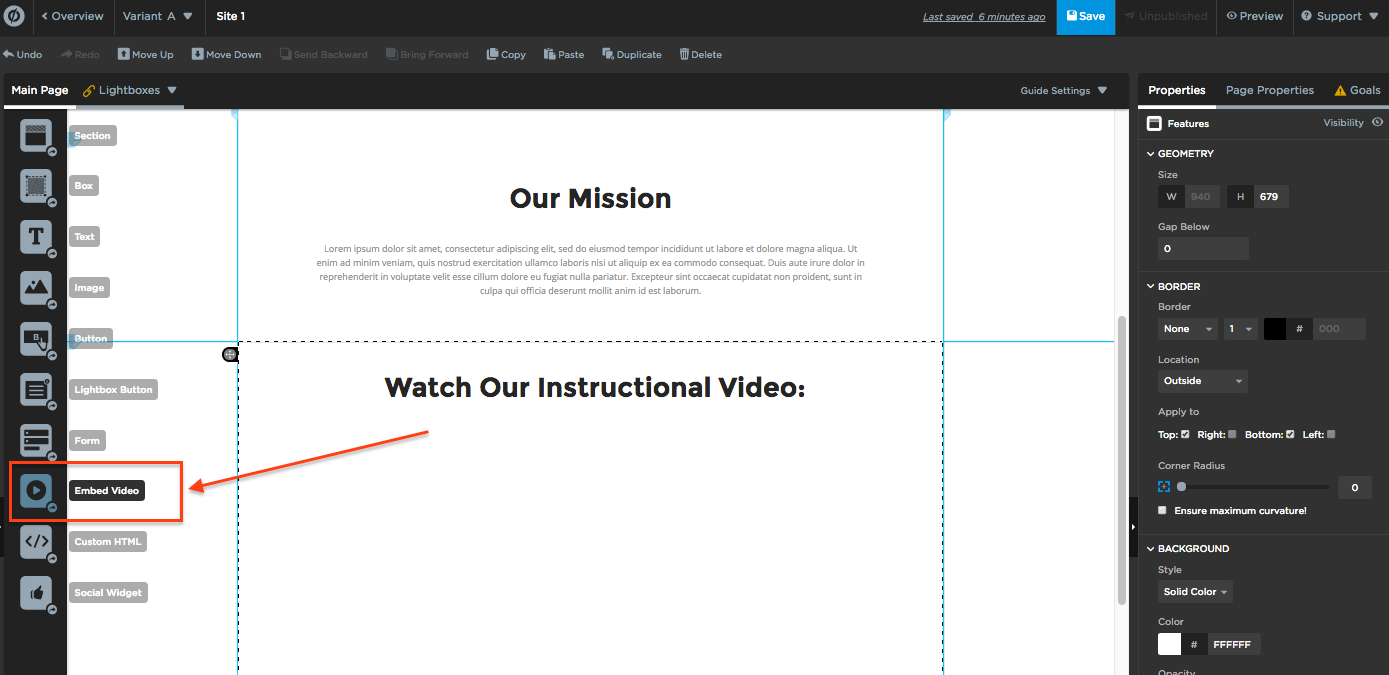
Add a video element to your landing pag
-
Add a ‘close’ button element for your video
-
Copy and paste this CSS into your Stylesheets:
<style>
  /* Replace with your 'close' button ID */
  #lp-pom-button-16 {
    display:none;
  }
  .lp-pom-video{
    transition:all 0.4s linear;
  }
.smallVid {
    left: 0 !important;
    top: 0 !important;
  	z-index: 999 !important;
    ms-transform: scale(0.5, 0.5);
    -webkit-transform: scale(0.5, 0.5);
    transform: scale(0.5, 0.5);
    -webkit-transform-origin-x: 0;
    -webkit-transform-origin-y: 0;
    transform-origin:0 0;
    position: fixed !important;
    display: block !important;
    box-shadow: 0px 0px 10px 3px rgba(0,0,0,0.3);
  }
  .vidAdjust{
  	margin-top: 1%;
    margin-left: 1%;
  }
</style>
-
Replace #lp-pom-button-16 with your ‘close’ button ID
-
Copy and paste this script into your Javascript tab:
<script src="//ajax.googleapis.com/ajax/libs/jquery/1.4.2/jquery.min.js" type="text/javascript"></script>
<script>
  //Replace with your video's ID
  var video = "#lp-pom-video-13";
  //Replace with your 'close' button ID
  var button = "#lp-pom-button-16";
  //Optional: adjust in pixels when the video transitions
  var showHeight = 400;
  var targetClass = "smallVid";
  var adjustClass = "vidAdjust";
  var classSelect = ".smallVid";
  var noClose = true;
  var initWidth = $(video).width();
  var initHeight = $(video).height();
  $(window).scroll( function() {
  if ($(this).scrollTop() > showHeight && noClose) {
    $(video).addClass(targetClass + " " + adjustClass);
    $(button).addClass(targetClass);
  } else {
    $(video).removeClass(targetClass, adjustClass);
    $(button).removeClass(targetClass);
  }
});
  $(button).click(function(){
    $(video).removeClass("smallVid vidAdjust");
    $(button).removeClass("smallVid");
    targetClass - null;
    adjustClass - null;
    noClose = false;
  });
</script>
-
Replace the “video” and “button” values with their respective ID’s
-
(Optional) Set the “showHeight” value in pixels to adjust when the on-scroll transition happens
Testing:
Now let’s test this puppy out! Like any other feature that you implement onto your page, you’ll want to see what effect it has on your conversion rates. We recommend running an A/B test and segmenting a small portion of traffic towards the page, just to be safe. Documentation on A/B testing can be found here.
Conclusion:
As mentioned, video is an extremely effective way to increase traffic, and generate, nurture and convert leads. Here’s some tips from Wistia to help boost your video marketing!