Do you want to send your leads to a different URL, depending on what they selected on your form? Now you can!
The form in Unbounce will need to be set up using the form confirmation dialogue. The script works by triggering a browser redirect almost immediately after the form submit action takes place (about 1 millisecond). The URL for the redirect will be set in the javascript.
NOTE: The script will only work if the form is placed on the main page. The redirects will not fire if the form is in a lightbox.
How to Install in Unbounce
🚨This is not an official Unbounce feature. This functionality is based entirely on third party code, and has only been tested in limited applications. Since this isn’t a supported Unbounce feature, our support team will be unable to assist if things go awry. So if you are not comfortable with HTML, Javascript and CSS, please consider consulting an experienced developer.
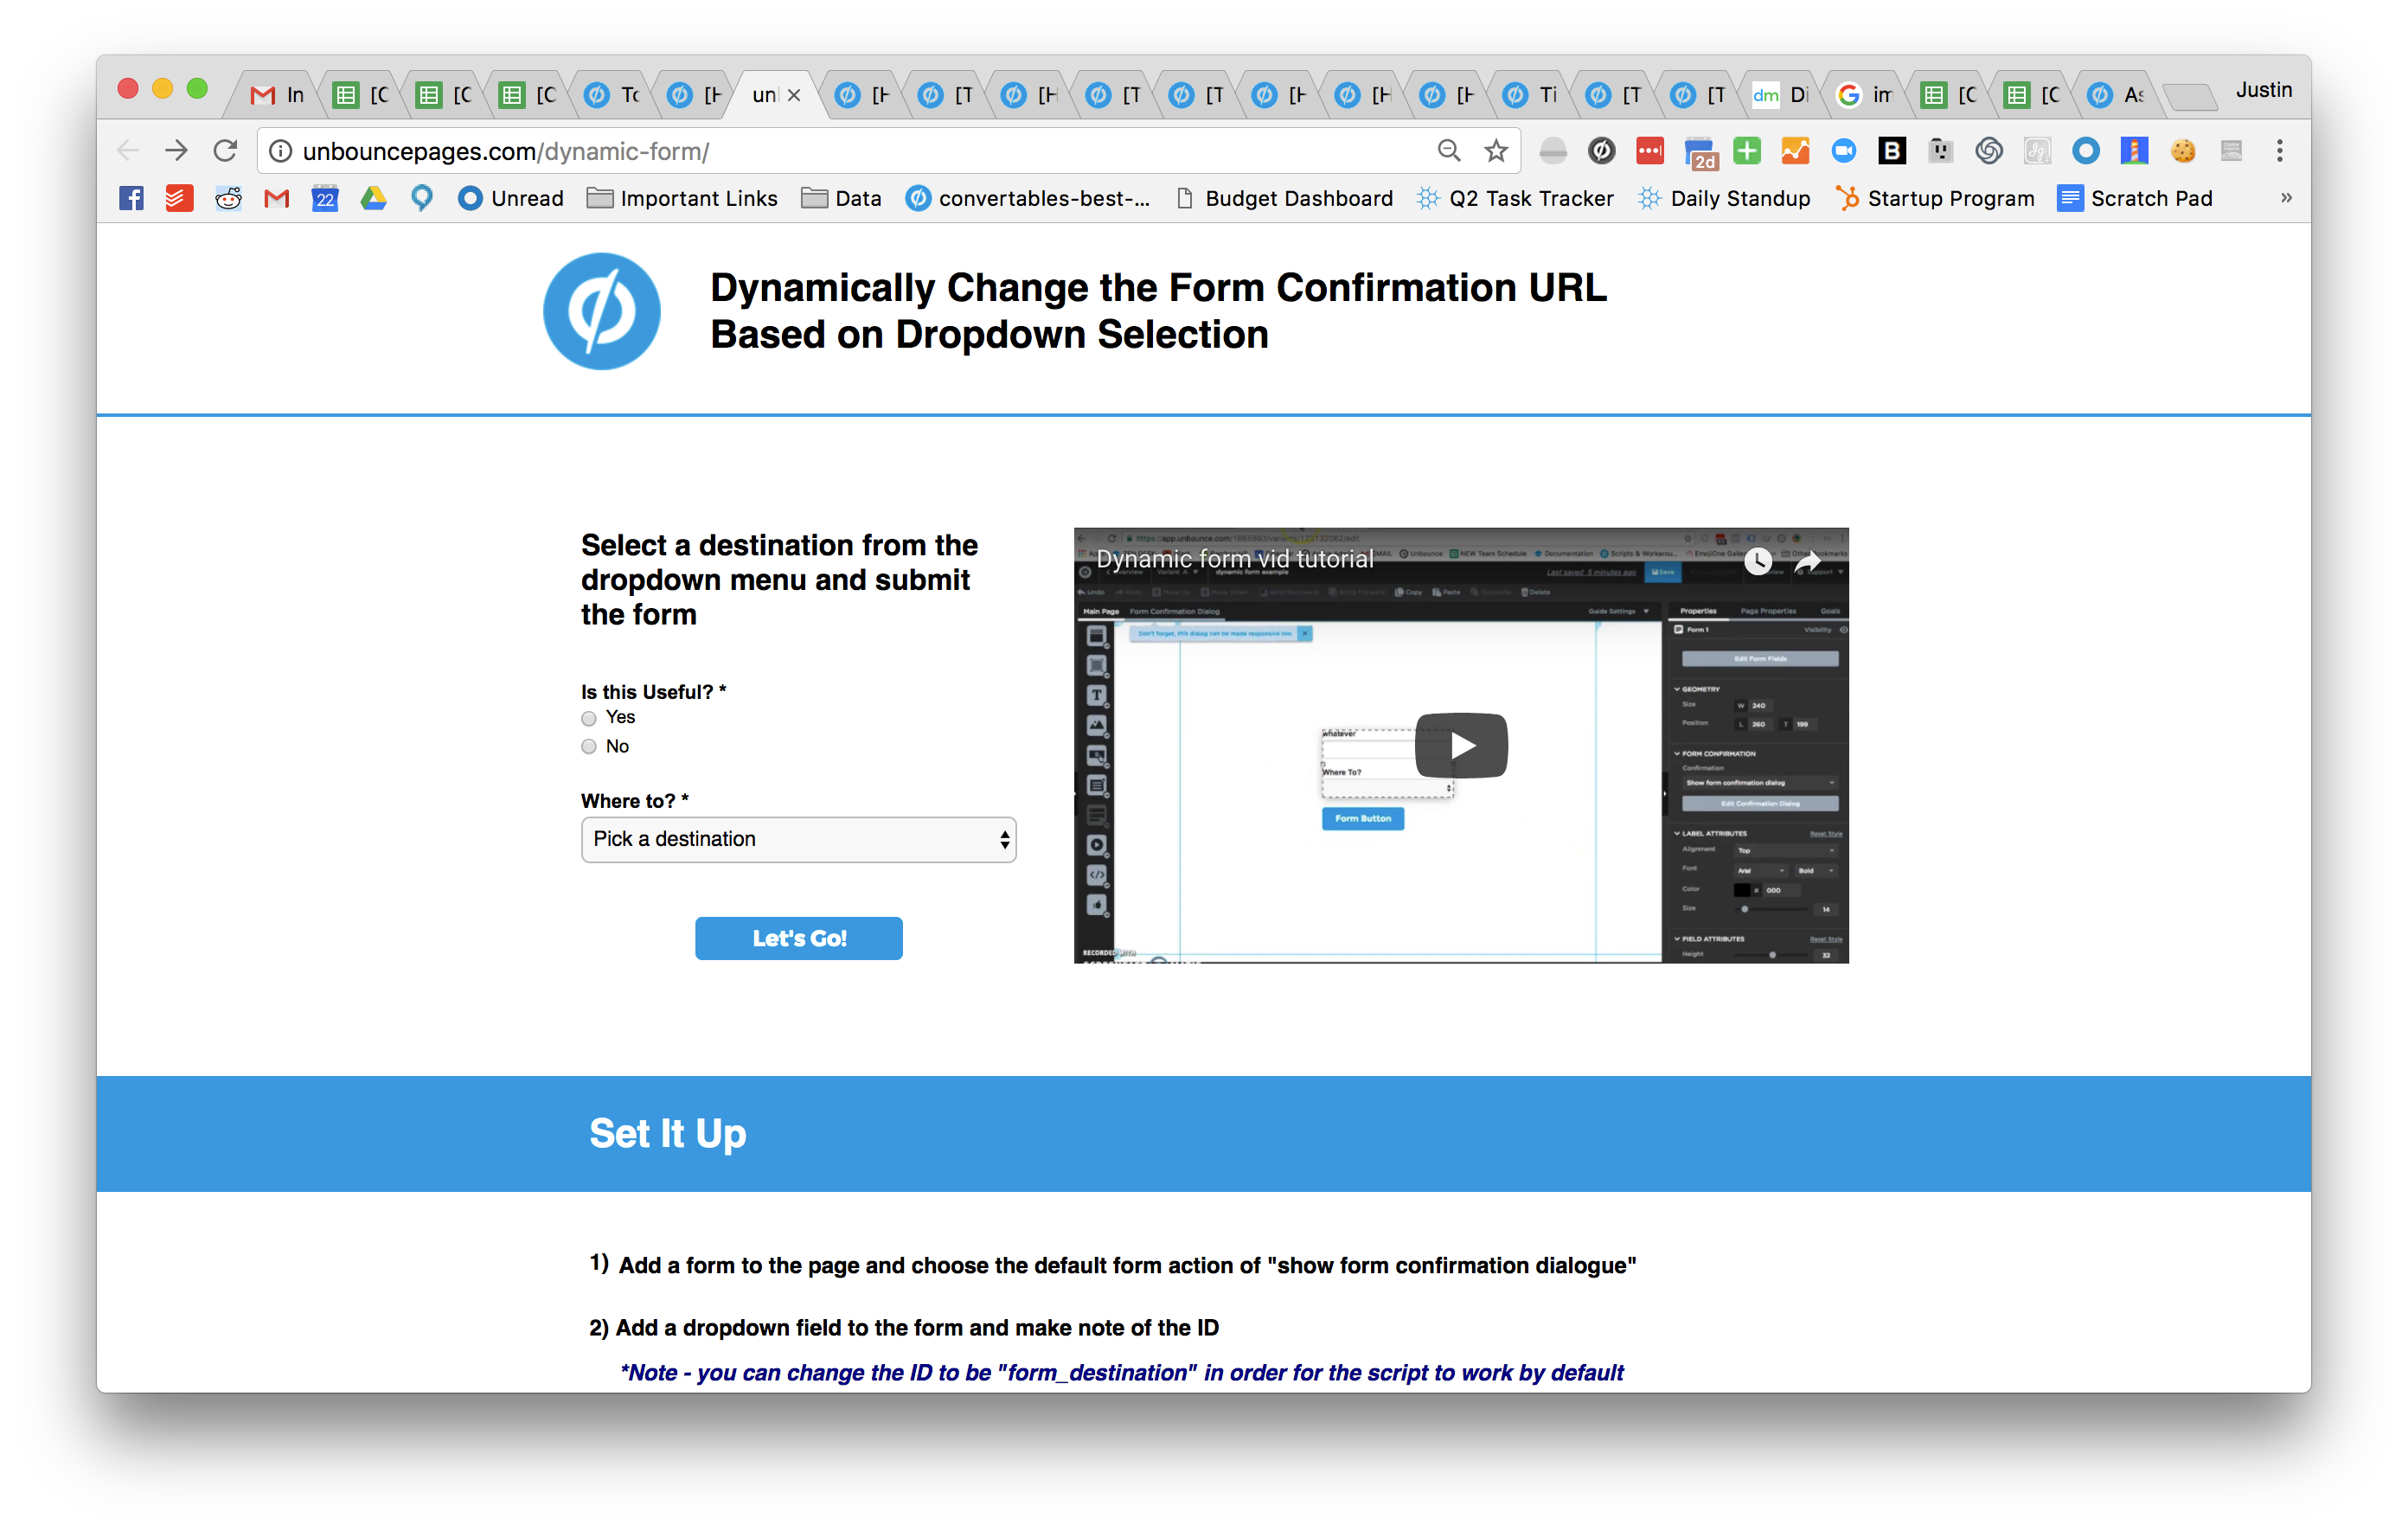
See it in Action
You can see it in action, download the .unbounce template and follow along with the video tutorials here, or read below for instructions.
The Set Up
Step 1. Add a form to the page and choose the default form action of “show form confirmation dialogue”
Step 2. Add a dropdown field to the form and make note of the ID. You will need to add options in the dropdown field to assign a URL to.
Note: You can change the ID to be form_destination in order for the script to work by default.
Step 3. Leave the first option of the dropdown blank
Step 4. Add a hidden field to your form and give it an ID of “destination”
Step 5. Add the first javascript snippet to the MAIN PAGE - Edit the script by replacing the URLs in with URLs of your own
Have an Unbounce form redirect to different URLs based on a dropdown selection
Step 6. Add the second snippet to the javascript section of the FORM CONFIRMATION DIALOGUE
Add this script to the FCD in Unbounce to complete the dynamic form set up
A Quick Note on the FCD
Unless a URL is assigned to a specific dropdown selection, the form confirmation dialogue will show when the form is submitted. Which means it’s still possible to use the FCD for specific form selections.
You can also show the FCD for a brief time before the page redirects (or for less time) by editing the delay time on in the script on the FCD.
Hide the FCD (optional):
If you don’t intend to show the confirmation dialogue to a lead and instead have the dropdown as a required field and all options mapped to a URL, you can use some CSS to hide the FCD from view.
The following CSS will hide the confirmation dialogue when the form is submitted:
Hide the form confirmation dialogue of an Unbounce form using CSS
That’s it!
You’re all done and ready to start using the new found control over the form confirmation URL. Please use responsibly. 🙂